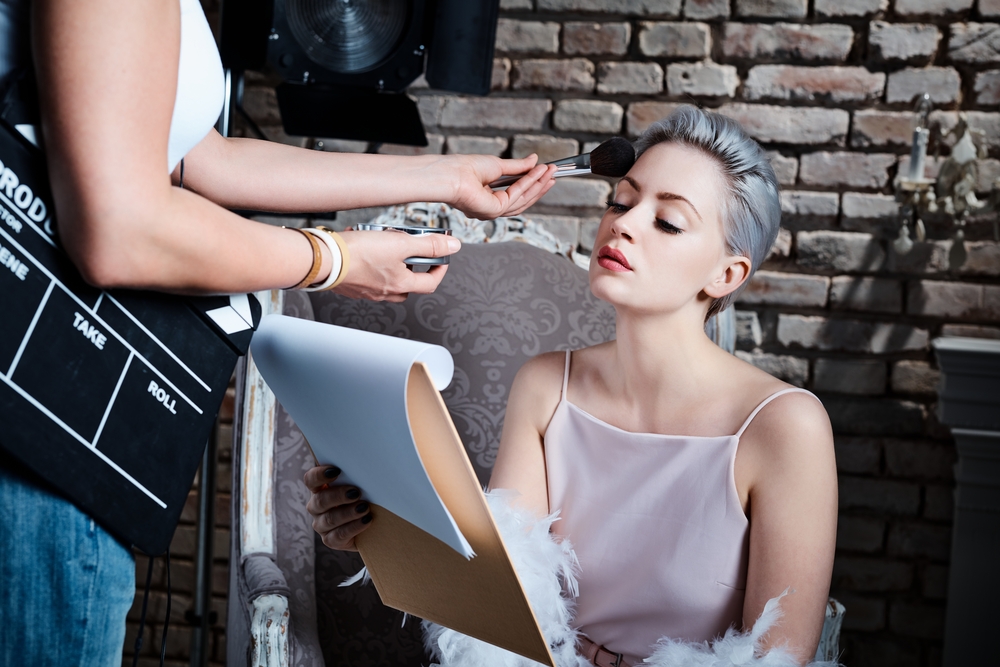
With the big technological advances that are constantly taking place in the movie industry, it can be quite tempting to think some things can now be done away with – like makeup.
After all, in the case of makeup, the powerful cameras used in Hollywood, and anywhere else films are made, have a lot of powerful features that can clear images of blemishes and enhance skin tone and color.
But makeup for TV and film is still as necessary today as it was when the film industry was born – around 1895 when the Lumiere Brothers aired their first short films.
The Necessity for Makeup in TV and Film

With the advent of HD cameras, film makeup has actually become a greater necessity than before as these powerful cameras can pick up even the tiniest detail on an actor’s face. This is probably the golden age for the film makeup artist. That being said, film makeup is necessary for three reasons we will briefly discuss below.
1. Basic Makeup
Basic makeup serves the purpose of compensating for the undesirable changes in your appearance caused by the lights and cameras.
2. Corrective Makeup
Corrective makeup is used to enhance your positive attributes and correct the flaws.
3. Character Makeup
The purpose of character makeup is to alter your appearance so as to make you look more like the character you are playing.
How to Do Movie Makeup
The first port of call when it comes to applying camera-ready makeup is the face. Due to the heat from the camera lighting and tension of the job, your body will produce sweat and oil that will give you an unwanted shine in the camera. The basic fix for this is to apply face powder that matches your skin tone.
1. Wash your face thoroughly, making sure to exfoliate. It’s advisable to use an astringent at this point so as to tighten facial pores and prepare the skin.
2. Apply a shade of base or foundation that matches your normal skin tone. If there is a need to lighten or darken your skin tone, it is best to go 2 shades lighter or darker and not more.
3. Eliminate “hotspots”. For tanned skin or men who shave, it is advisable to make sure that uneven tones are eliminated by blending in the foundation.
4. Brush your eyebrows with a clean eyebrow brush and pluck off any stray hairs. Bushy eyebrows may be acceptable for men depending on the role but women need to shape their brows into a gentle arch using an eyebrow pencil.
5. Eyeshadow for women is almost always a necessity. Use the dry powder cake for this as it blends in well and is less susceptible to the heat from the studio lights.
6. When enhancing the lips the lips should be outlined using either a lipstick brush or a lip pencil. Not only does outlining the lips accentuate them, but it can also be used as a corrective technique. The choice of lipstick you will use is also very important as some lipsticks have a latent blue hue that can appear purple on camera. Remember to gently blot your lips with a soft tissue to avoid an unnatural shine.
7. Any other part of the body that will appear on camera also needs makeup, especially the hands and ears. They should have a matching tone with the face so as to reduce wrinkles and avoid color variations.
Fingernails should be well manicured and the right nail polish applied if necessary.
Ears can pose a special problem due to their more transparent nature. This is compounded by the fact that lights will be shining behind them.
To solve this problem, apply a base makeup that is 2 shades darker than the face.
In the case of corrective makeup…
8. Contouring can be used to bring out the classic jawline or downplay features such as a prominent nose or high forehead. To achieve the desired results, a darker shade (than the foundation) of makeup is used to bring out the desired contours or lines.
9. To highlight certain features, use a shade of makeup that is lighter than the foundation or base. Makeup that is 2 or 3 shades lighter than the foundation is best. This is basically the opposite process to contouring. Highlighting should be used in shadowy areas such as under the eyes and lower lip to keep them from looking unusually dark under the camera.
10. Use a transparent powder to eliminate any sheen that may have escaped.
Camera Ready Makeup – the Making of a Movie Star
With your camera ready makeup in place, it’s time to stand in front of the cameras and give the best performance of your life. The world is waiting for the star that is you.